Start typing to search...
Tutorials
Learning Koji
1. Your first project
Search
Your first Koji project
Projects are the building blocks you use to create amazing web apps and experiences with Koji. In the first section of the quick start tutorial, you will walk through creating and publishing your first project.
By the end of the section, you should feel comfortable:
-
Creating a new project by forking an existing one.
-
Opening the code editor to view a project’s code.
-
Publishing a project from the code editor.
Forking an existing project
In software, it’s often the case that someone else has already built a scaffold or foundation that can help you get started more quickly. This principle applies to much of what we do as a platform, and Koji is built on the idea that you will always have a pre-existing starting point for any project.
Koji developers start from an existing project through a process called forking. If you’ve used a version control program such as Git, you might already be familiar with this term. Koji is doing something very similar to version control when you fork a project.
When you fork a project, you create a copy of the project that you now own. In your new project, you can make changes to the code, reorganize things, and even remove things that you don’t like.
This is a powerful concept, because it means that, if you see something on Koji you like, you can fork it, and use it as a starting point for a new project. You can fork other developers' projects, or even your own.
For now, we’ll start by forking a scaffold. Scaffolds are bare-bones projects that include things like a basic JavaScript framework, as well as the instructions that Koji needs to run the project.
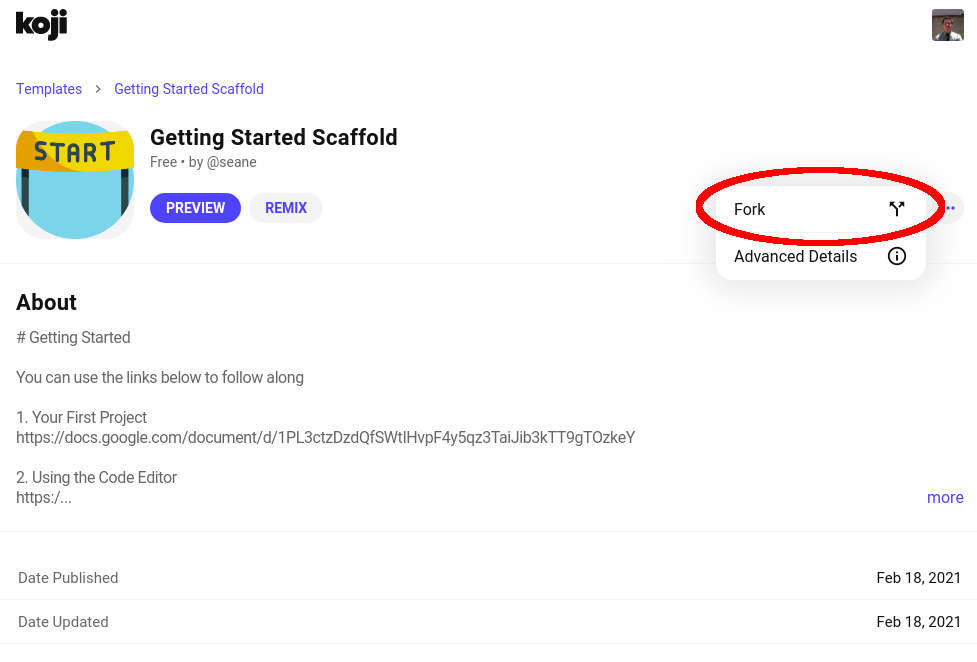
Start by visiting the Getting Started Scaffold template page. This page shows you some information about the template for the project, including a preview of the published template. Take a minute to familiarize yourself with it. When you’re ready, fork the template by clicking the three dots on the right side of the header and clicking Fork.
Viewing project details
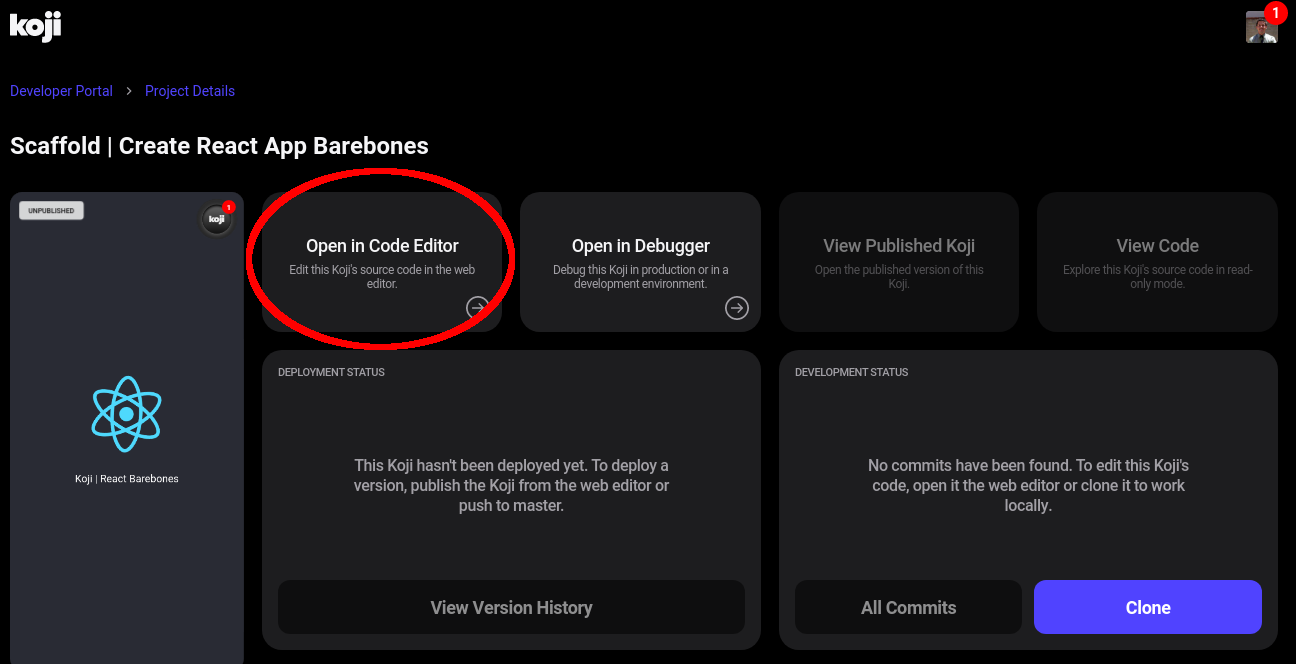
After you successfully fork the template, the Project Details screen opens. Project Details shows you information about your project and provides some advanced tools and configuration options.
For now, we want to focus on publishing the project. Publishing makes the project publicly accessible, so that you can share it with other people. You publish your project using Koji’s code editor.
Click Open in Code Editor.
Taking a quick look at the code editor
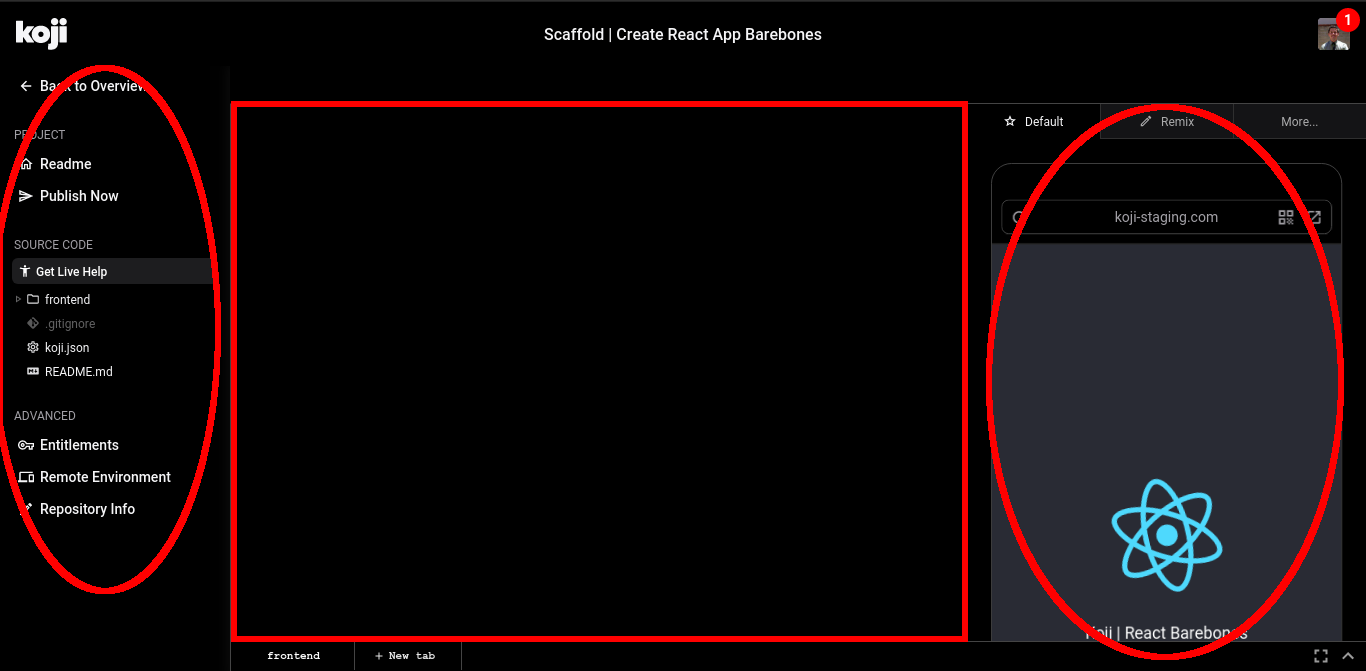
If you’ve used code editing tools such as VSCode or Atom, Koji’s code editor should look familiar. On the left side is a file explorer. When you click on a file in the explorer, it opens in the center panel where you can edit it. On the right side is a preview of your project.
In later sections of the quick start tutorial, you’ll have plenty of time to explore the code editor. For now, let’s move on to publishing your project.
Publishing your project
When you fork a template, you create a new copy of an existing project. When you open that project in the code editor, you can view and edit the underlying code, and you can see a preview of the project.
The preview runs in a development or staging environment. If you haven’t worked in a staging environment before, you can think of it as a draft mode. The staging environment allows you to preview your project and test changes to it before you send it out to the world.
Although you haven’t made any changes to your project yet, you can still publish it. This means that the published version of your project will look exactly the same as the project that you forked.
-
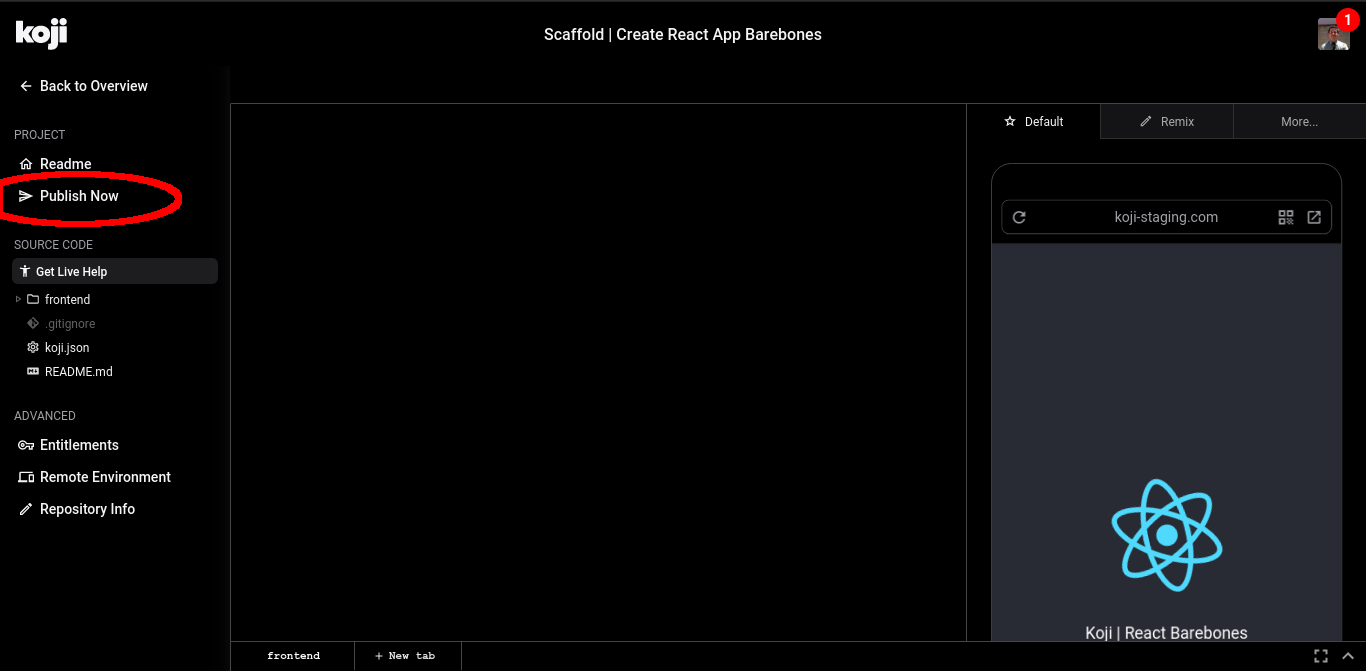
To open Publish Settings, click Publish Now.
Publish Settings allows you to customize some of your project’s metadata. You can also adjust things like visibility settings.
-
In the Name field, type a new name for your project. Choose something memorable like
My First Published Project.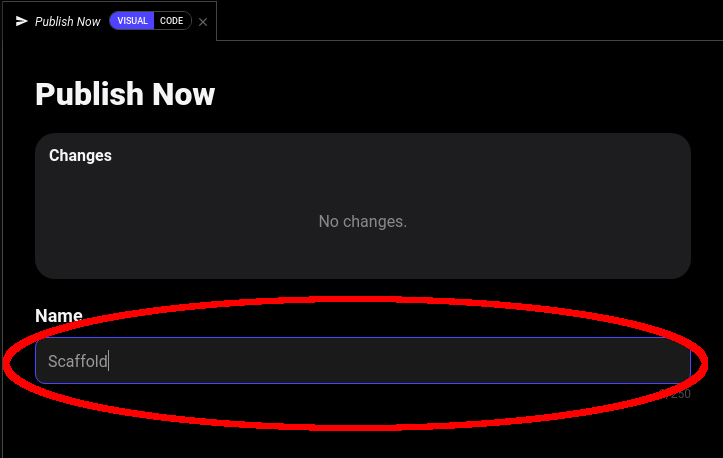
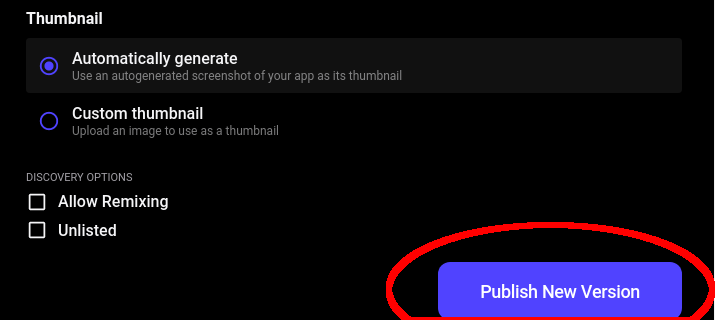
-
Click Publish New Version.
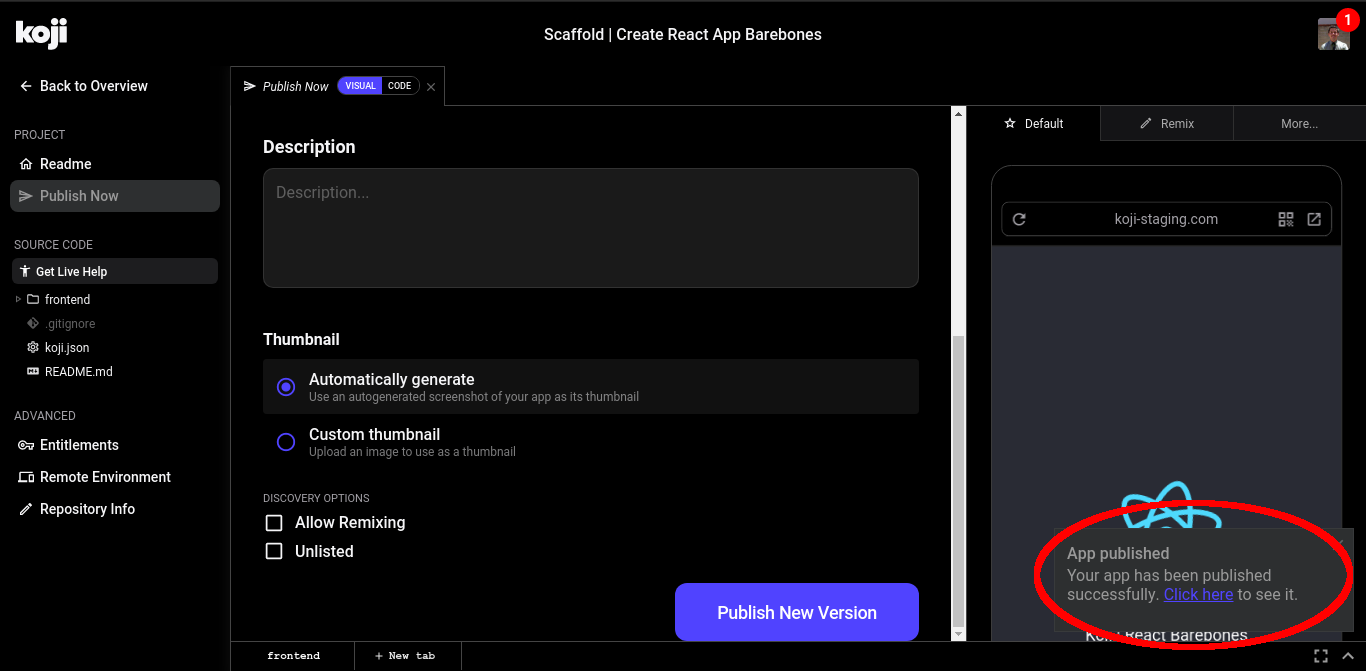
After a few moments, Koji notifies you that your project has been successfully published. It’s now live for the world to see!
-
To view the live version of your project, visit the link in the success notification.
 Note
NoteThe link that’s created when you first publish your project is a permanent link to your deployed project. This means that when you publish updates or changes to your project, the link to the live, published version will always be the same.
One great thing about Koji is that it handles almost all of the requirements to deploy and host your project. With Koji, you get:
-
A permalink where you can view your published project.
-
Free hosting of your project.
-
Automatic scaling (as more users visit your published project).
-
SSL.
There are even more great things about building and deploying projects on Koji that we’ll get into as we explore the rest of this tutorial.
Wrapping up
Congratulations! You’ve successfully forked and published your own project! You’ve also seen some of the basic parts of the Project Details page, as well as the code editor.
In the next section, we look at making some changes to your project’s code and what re-publishing a project looks like.