Start typing to search...
Tutorials
Learning Koji
2. Using the code editor
Search
Using Koji’s code editor
In the first section of the quick start tutorial, you walked through creating and publishing your first project. In this section, you’ll dive a little deeper into the code editor, and explore making changes and updates to a project.
By the end of this section, you should feel comfortable:
-
Using the code editor to make and save changes to a project.
-
Using the code editor’s preview to see real-time changes to a project.
-
Publishing updates to a project.
Editing a project
In software, it’s important to be able to separate the development environment from the production environment. As we learned in the last section, Koji makes this easy by allowing you to maintain a draft of your project in the code editor and to publish your project when you’re happy with the changes you’ve made.
Let’s start by going back to the code editor for your project. If you’ve closed the code editor since the last section, you can go to the Developer Portal to open a list of your projects. Click the project that you published in the last section, and click Open in Code Editor.
Navigating files and folders
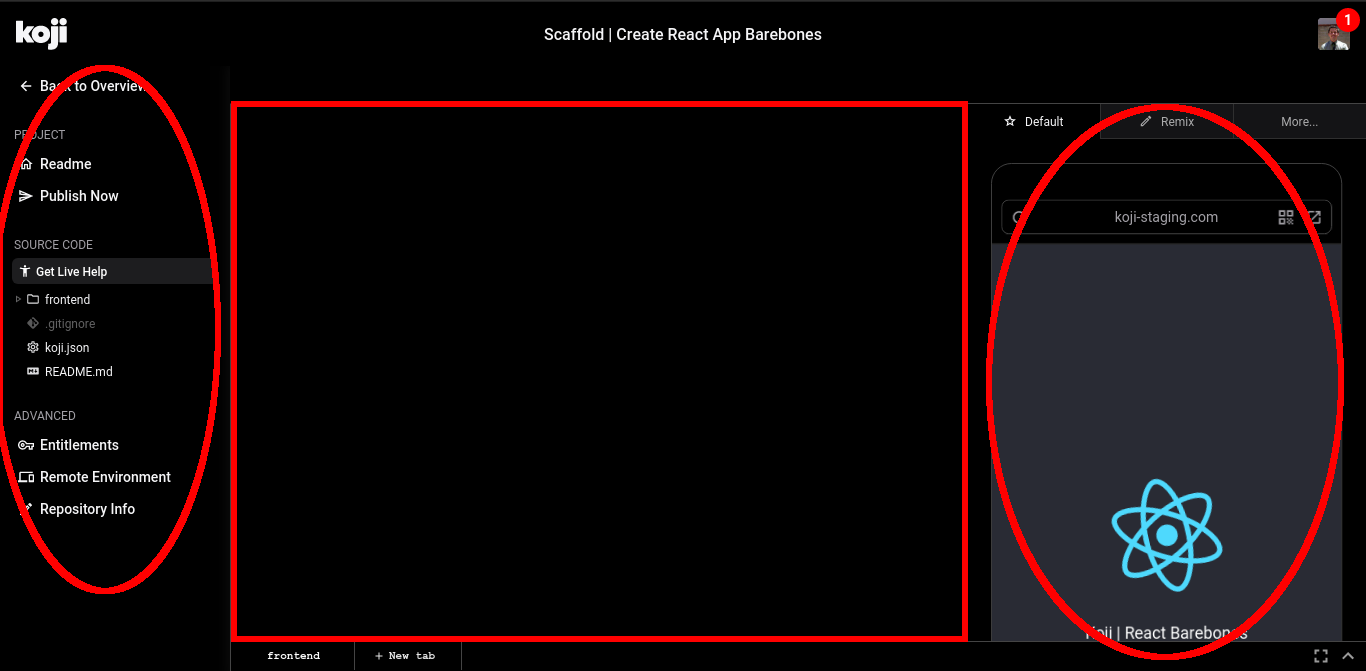
On the left side of the code editor, you will see some navigation items at the top and, below that, the Source Code section, which provides a file and folder-style navigation that allows you to explore the files in your project and open them in the editor.
Let’s start by opening the frontend/src folder.
Click the frontend folder to show its contents.
Then, click the src subfolder to show its contents.
Opening a file
You open a file by clicking it.
Click App.js.
You should see the file contents in the editing pane. If you have any other files open, you can close them by clicking the X icon in the file tab.
Editing and saving a file
Let’s start by making a quick edit.
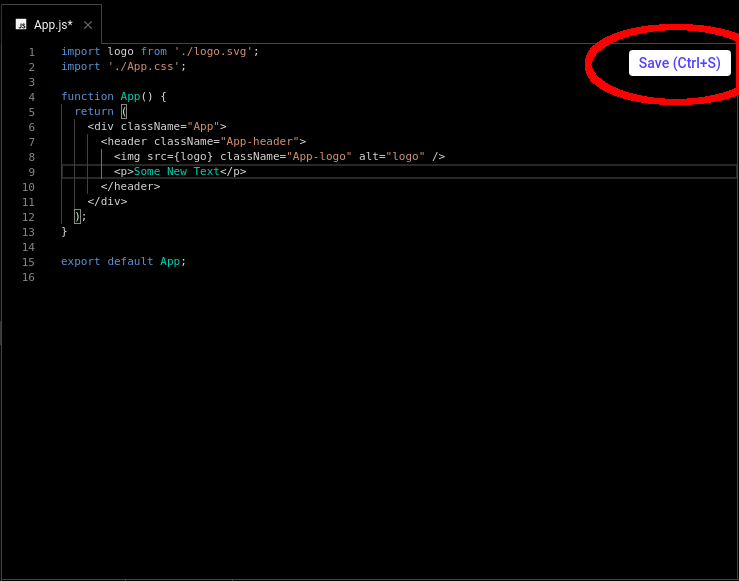
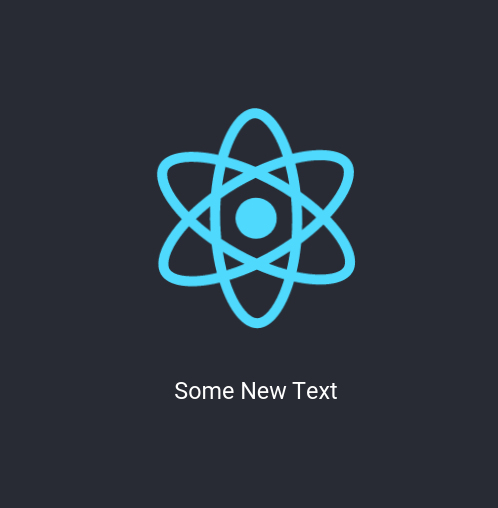
In the App function, replace the text inside the <p> tag with Some New Text.
function App() {
 return (
   <div className="App">
     <header className="App-header">
       <img src={logo} className="App-logo" alt="logo" />
       <p>Some New Text</p>
     </header>
   </div>
 );
}
Note that when you make a change to a file, a Save (Ctrl+S) button appears.
Click the button to save your changes.
You can also save by pressing Ctrl+S or Cmd+S, depending on your operating system.
When the file is saved, the Save (Ctrl+S) button disappears.
Previewing changes
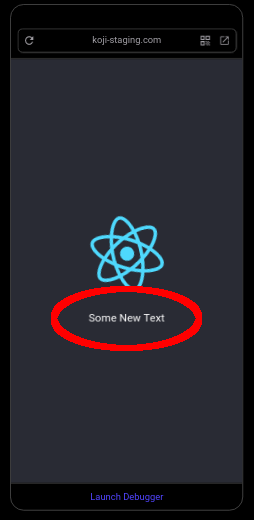
When you save your file, the preview on the right side of the screen updates automatically.
This happens for two reasons.
First, we bootstrapped this project with Create React App, which gives us a hot-reloading development environment where changes are compiled in real time and modules automatically reload when needed.
Second, Koji maps the development server to a live staging URL and loads the URL into an iframe inside the code editor. This tool is handy for developers because it also allows you to open the URL in a separate tab. You can even share the staging link with others so that they can see your work in progress.
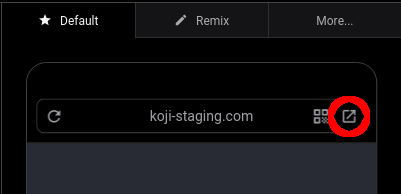
If you’d like to view your project in a separate tab, click the Open in New Tab icon.
Republishing
You’ve only made a minor change, but let’s pretend that you just fixed a bug. To make sure the bug fix is applied to your project, you would republish it. When users visit your project’s permalink, they will see the most recently published version.
Navigate back to Publish Settings by clicking Publish Now. The changes you’ve made to the project since your last publish are shown.
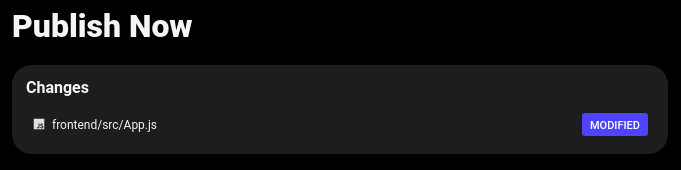
|
Note
|
If you don’t see any changes listed, it could be because you forgot to save. |
To republish, scroll down to the bottom of Publish Settings, and click Publish New Version.
After your project has been republished, you will see a success notification with a link to the published project (the same permalink as before). You can visit that link to confirm that the live version of the project has been updated.
Wrapping up
You should now be familiar with exploring the folders and files in your project, making changes, and publishing updates.
In the next section, we look at some more Koji tools that you can use to make your project much more interesting.