Start typing to search...
Tutorials
Learning Koji
3. The @withkoji/core package
Search
The @withkoji/core package
In the previous section of the quick start tutorial, you walked through exploring the folders and files in your project, making changes to files, and publishing updates. In this section, you’ll continue using the code editor to install and implement the @withkoji/core package.
By the end of this section, you should feel comfortable:
-
Using the terminal feature inside the code editor to run commands.
-
Installing and importing the @withkoji/core package into a project.
-
Using the @withkoji/core package to capture input from a user.
The JavaScript ecosystem
If you spend some time looking at the history of the web, you’ll find that the user’s experience has improved dramatically over the past few decades. For a long time, user interactions were limited to link-style navigation and using forms to capture data.
JavaScript was introduced as a way to build more complex user experiences, and it’s become the primary language in which most web applications are written today.
It seems likely that JavaScript will continue to dominate web development for a long time to come, so Koji has chosen to embrace JavaScript as the way to go. We aim to support JavaScript and its surrounding ecosystem in the features and tools that we provide to developers.
This support means that it will be easy for you to use popular frameworks such as React, Vue, and Svelte in your development. It also means that you have will access to NPM, the world’s largest software registry, which has over 1.5 million packages ready to install and use in your project.
In this section, we’ll look at one specific package, @withkoji/core, which exposes many of Koji’s powerful platform features in an easy to use set of modules and methods.
Let’s start by going back to your project in the code editor. If you’ve closed the code editor since the last section, you can go to the Developer Portal to see a list of your projects.
Click the project that you published in the last section, and click Open in Code Editor.
Using the terminal
If you’ve done software development in the past, you’ve probably used a terminal or command line interface. You use the terminal to send text-based commands to your computer.
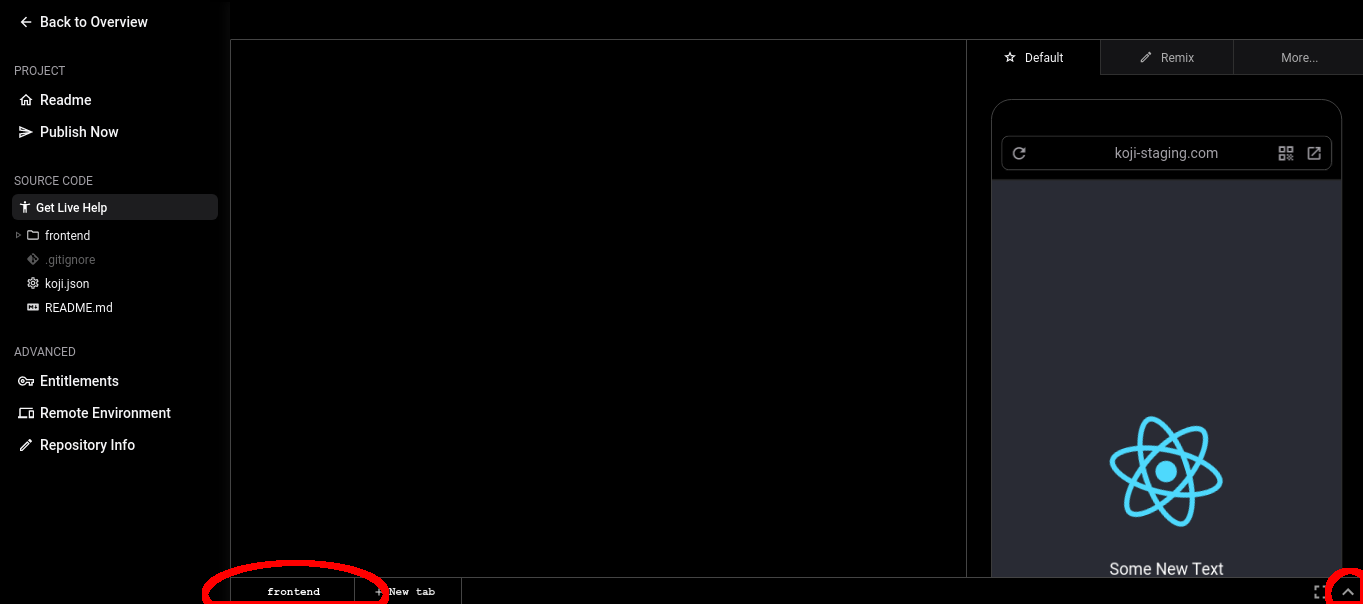
Koji’s code editor has a built-in terminal that you can open by clicking the up caret on the right side of the Terminal pane, or by clicking one of the existing terminal tabs.
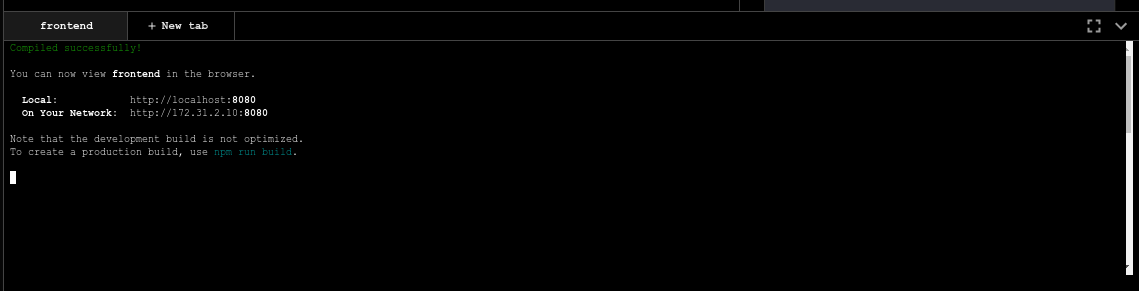
After you’ve expanded the terminal pane, you should see something like the following.
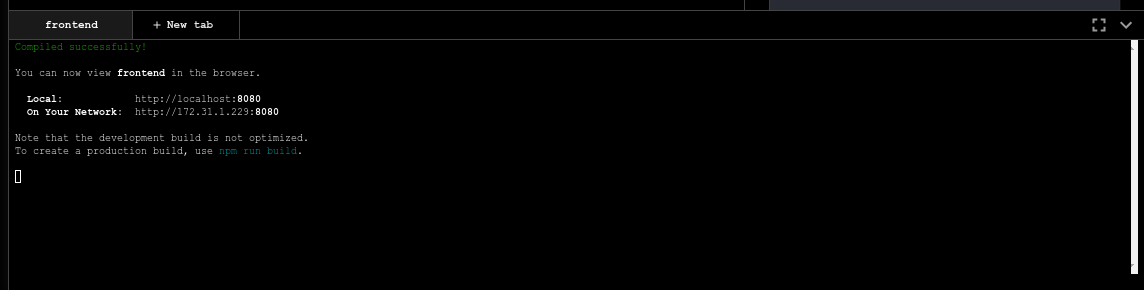
If you’ve worked with React in the past, this output should look familiar.
It’s letting us know that the project has been compiled successfully and is being served at https://localhost:8080.
Installing @withkoji/core
We’ll have an opportunity to explore the terminal more in later sections. For now, let’s use it to install the @withkoji/core package from NPM.
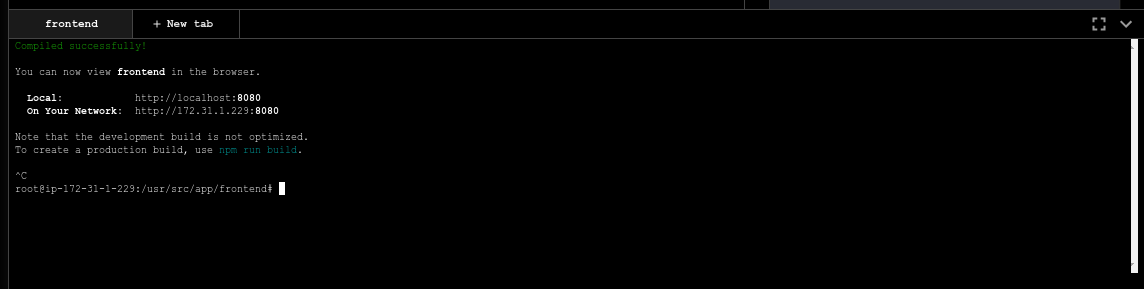
Stop the running process by pressing Cmd+C or Ctrl+C, depending on your operating system.
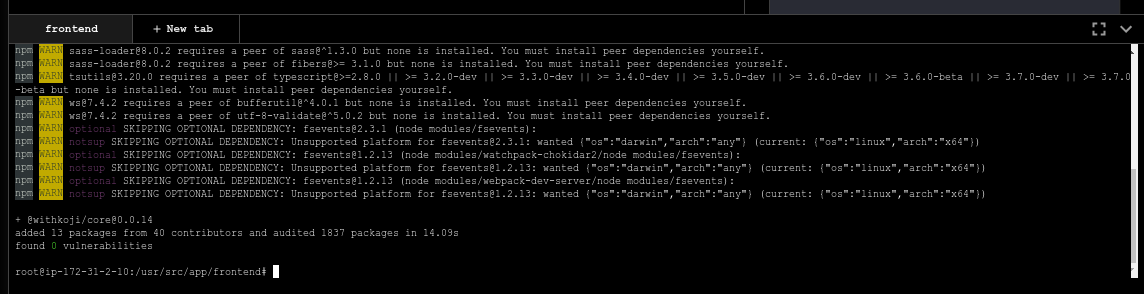
Install the @withkoji/core package by running the following command:
npm install @withkoji/core
You’ll see some output in the terminal as you connect to NPM, request the latest package details, and install it in the project. If the installation is successful, you should see a final output similar to the following.
Now that you’ve installed the @withkoji/core package, you need to restart the development server by running the following command:
npm start
After React compiles your project, you should see the same output you did when you first opened the terminal.
Importing the @withkoji/core package into a project
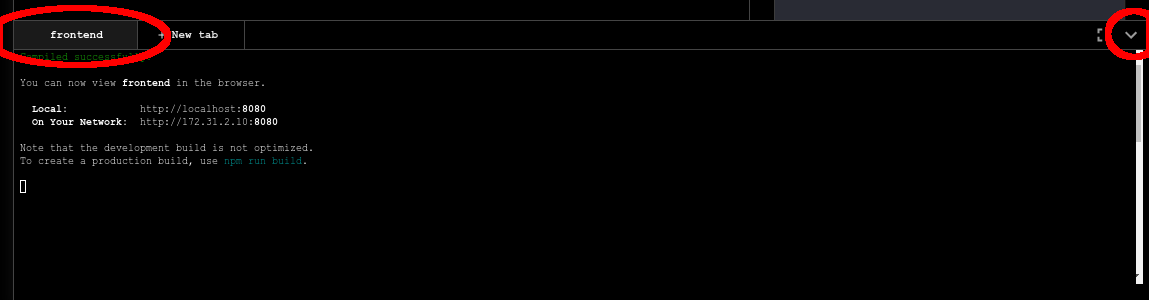
You’ve successfully installed the @withkoji/core package, and now you’re almost ready to use it in your project. Because you’re using React, you get module importing out of the box, and you need to add just one line of code to begin using the package. Let’s start by minimizing the terminal panel.
Click the current tab. Alternatively, you can click the down caret.
Next, open the /frontend/src/index.js file, and make the following changes.
import React from 'react';
import ReactDOM from 'react-dom';
import Koji from '@withkoji/core';

import kojiConfig from '../../koji.json';
import './index.css';
import App from './App';

Koji.config(kojiConfig, {
  projectId: process.env.REACT_APP_PROJECT_ID,
  services: {
    frontend: process.env.REACT_APP_FRONTEND_URL,
  },
});

ReactDOM.render(
  <React.StrictMode>
    <App />
  </React.StrictMode>,
  document.getElementById('root')
);
There are a few things going on here:
-
At the top of the file, you import
Koji, the default export from the@withkoji/corepackage. -
You also import the
koji.jsonfile askojiConfig. -
Finally, you call
Koji.configand pass in thekojiConfigobject, as well as some additional parameters to help the package understand your project’s configuration.
The big takeaway is that you’ve imported Koji’s core package and called Koji.config outside of React’s render loop, which will ensure that it’s only called one time, when the application first loads.
Now, you can start using the modules and methods from the @withkoji/core package.
A quick detour: React state
There are many tools available to help manage the state of your application. You can think of state as information that your project needs to keep track of as it’s running.
Most web applications use state in some way. A few examples include tracking whether a user has selected light or dark mode, whether a particular section of content is expanded or collapsed, and whether a user is logged in or not.
The web application that you’re building is quite simple, but you can still use state to store the URL of the rotating image, instead of using a static image.
Make the following changes to the frontend/src/App.js file.
import { useState } from 'react';
import './App.css';

function App() {
  const [logoSrc, setLogoSrc] = useState('https://upload.wikimedia.org/wikipedia/commons/a/a7/React-icon.svg');
  return (
    <div className="App">
      <header className="App-header">
        <img src={logoSrc} className="App-logo" alt="logo" />
        <p>Some New Text</p>
      </header>
    </div>
  );
}

export default App;
Let’s go over the changes.
You removed the import statement that brought in the local logo.svg file.
You also imported useState from react, which is a React hook that will allow you to do some state management inside the component.
The syntax for the useState hook is very simple:
const [myValue, functionToSetMyValue] = useState(initialValue);
You have a reactive value (myValue) that you can update by using functionToSetMyValue.
The value is initialized to initialValue.
In your project, you use the publicly available React logo from Wikimedia Commons as the default value:
const [logoSrc, setLogoSrc] = useState('https://upload.wikimedia.org/wikipedia/commons/a/a7/React-icon.svg');
You changed the src of the rotating image to src={logoSrc}, so the image being displayed will reference the logoSrc, even when you make changes to it using setLogoSrc.
Let’s test it out using a feature from the @withkoji/core package!
Capturing user input with @withkoji/core
Capturing user input is a fundamental part of the user experience on the internet. Filling out forms, uploading files, and toggling buttons are all ways in which a user can interact with a web application.
One of Koji’s goals is to make capturing a user’s input easy for developers and intuitive for users. To accomplish this goal, the Koji platform has exposed a number of methods for capturing different types of dynamic user inputs.
Let’s take a look at one of those methods in action: Koji.ui.capture.image.
As you can probably guess, this method allows you to capture an image input from a user.
You might be wondering how this method is different from the traditional <input type="file" />, which allows a user to select an image file from their computer.
Let’s find out.
Update the code in frontend/src/App.js as follows.
import Koji from '@withkoji/core';
import { useState } from 'react';
import './App.css';

function App() {
  const [logoSrc, setLogoSrc] = useState('https://upload.wikimedia.org/wikipedia/commons/a/a7/React-icon.svg');
  const captureImage = async () => {
    const src = await Koji.ui.capture.image();

    if (src) setLogoSrc(() => src);
  };
  return (
    <div className="App">
      <header className="App-header">
        <button onClick={captureImage}>Capture Image</button>
        <img src={logoSrc} className="App-logo" alt="logo" />
        <p>Some New Text</p>
      </header>
    </div>
  );
}

export default App;
You’ll notice a few small changes.
First, you’re importing Koji again at the top of the file.
Second, you added a button that will call the captureImage function when it’s clicked.
The captureImage function requests user input by using the Koji.ui.capture.image method.
If a value is returned, setLogoSrc is called and the state is updated with a new value.
Let’s give it a try. To make sure you are seeing the most updated version of your application, click the Refresh icon in the preview.
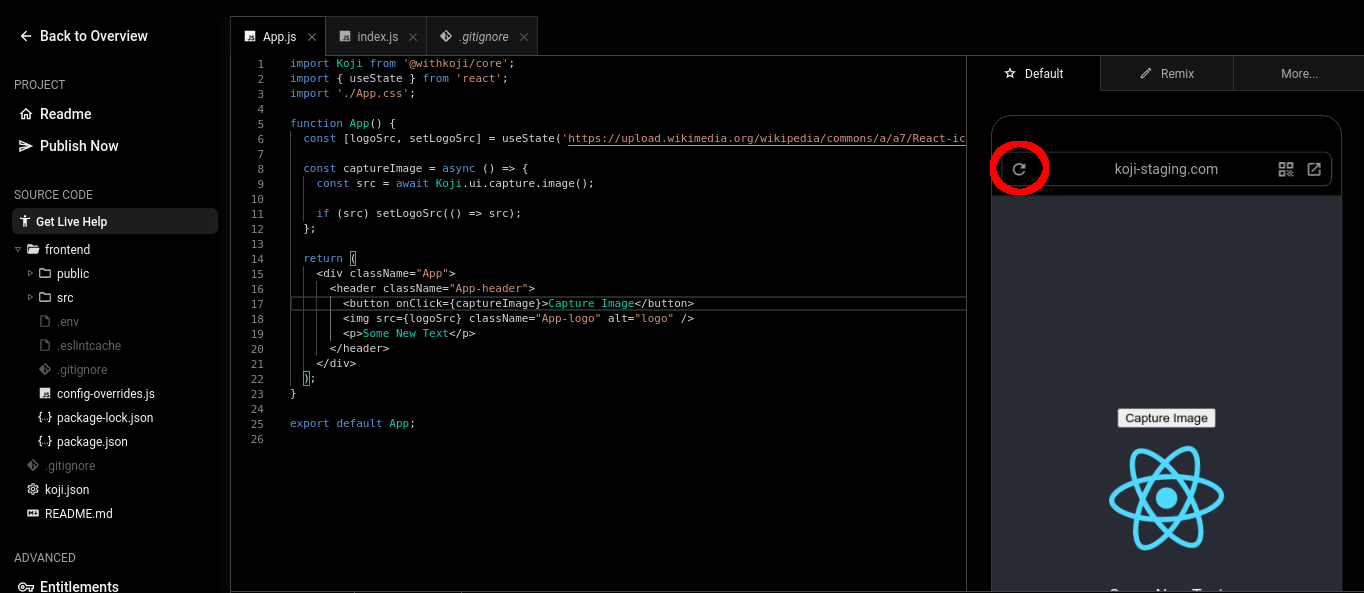
Click Capture Image.
You’ll see a few things. In addition to supporting a traditional file upload, a user can paste an image from a URL or browse one of Koji’s many image asset packs to find an image. There are also options to search the web for an image or to use one of the pre-configured bundles of images.
Feel free to spend some time testing this feature out, and notice that when you upload or choose an image, it’s automatically updated in the preview window.
Under the hood
One thing that’s not so obvious is what happens under the hood when a user chooses an image. The image is automatically uploaded, hosted, and optimized by Koji’s CDN. The whole process is blazing fast and the image is intelligently cached. In addition, you gain access to a ton of interesting configuration options.
Let’s test out one option by changing a line in frontend/src/App.js.
(Don’t forget to save!)
Change
const src = await Koji.ui.capture.image();
to
const src = await Koji.ui.capture.image({ blur: 10 });
Now, try choosing a new image. You’ll see that the new image has a blur effect applied to it. The blur isn’t just a style or CSS property. The image is actually being transformed and served back at a URL on a custom, Koji-backed CDN!
Republishing
We’re just starting to scratch the surface of the ways in which Koji can give a traditional web application super powers. Before we move on, let’s make sure you save your progress by publishing a new version of the project.
Navigate back to Publish Settings by clicking Publish Now.
Click Publish New Version to publish your latest changes.
After your project has been published, feel free to check out the link to the latest live version and experience your image capture in the wild.
Wrapping up
You should now be familiar with using the terminal to make command line changes to your project, as well as installing and importing the @withkoji/core package. You also learned how to capture an image value from a user and how to do a some state management in React.
In the next section, we’ll take a step back from the code and start to explore the real power of Koji.