
Start typing to search...
Contexts and customizations
In the previous topic of this tutorial, you learned about using the terminal, and installing and using the @withkoji/core package. In this topic, you will learn about contexts and how to implement the Remix context to enable customization of your app.
You will learn how to:
-
Set your default customization data in the
koji.jsonfile. -
Manage the customization data using the
get,set, andfinishmethods. -
Determine the user’s current context using the
contextproperty.
Derivative apps
A Koji app’s most compelling feature is its customizability. A creator can take an existing app, customize it without coding, and publish the customized version. Another creator can take the customized version and create another customized version the same way.
As the developer of the original app, you can choose to enable this feature.
To experience how a creator might customize your Koji app, try customizing the Bouncy Blast game.
Exercise 3.1: (Optional) Create your own customized Bouncy Blast
-
Go to the Koji App Store listing for the Bouncy Blast game.
-
(Optional) Click Preview to play with the original version.
-
Click Use to customize the app. (If you played with the original version, click Use App at the bottom of the preview.)
-
Click on any of the customizable components to replace the component.
The preview is immediately updated with your selection.
-
Click Preview.
-
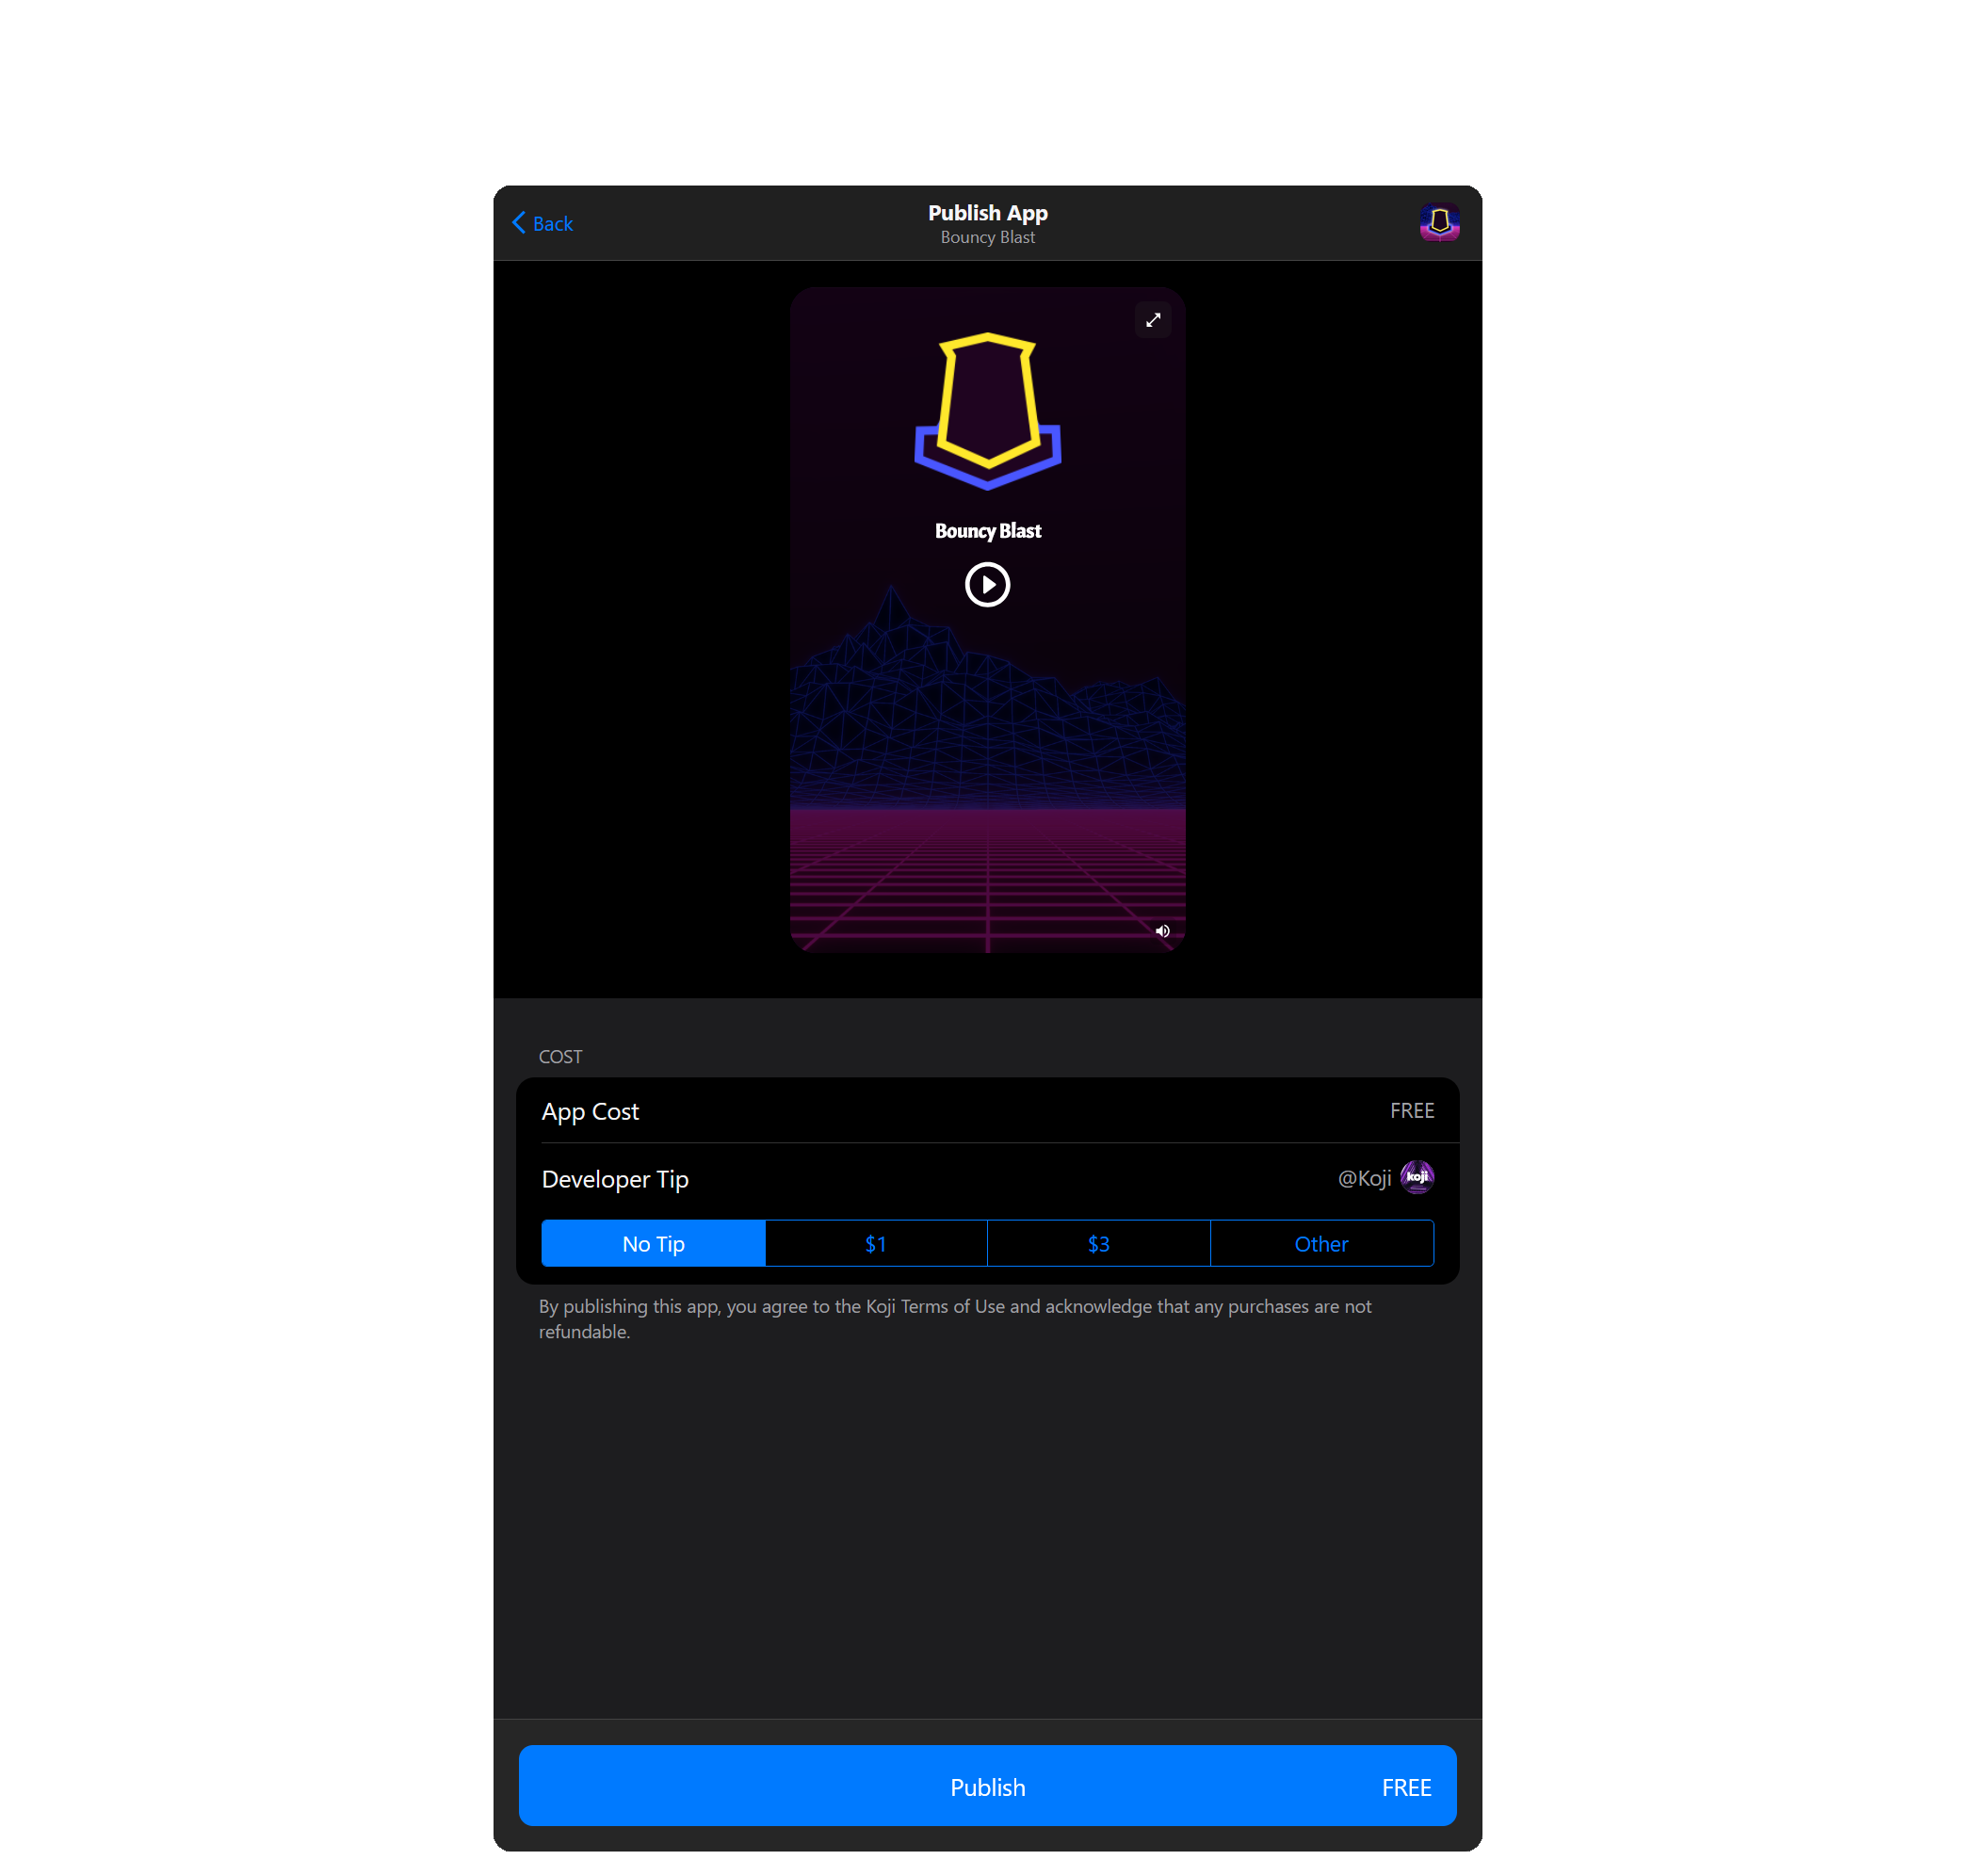
In the Publish App page, click on the screenshot to play your customized version of the game.
-
(Optional) Tip the original developer.
-
To publish your customized version, click Publish.
Your customized version is displayed.
The URL in the browser address field is the permanent link for your customized version. You can add this link to your Koji profile or share it in any social media.
|
Tip
|
To view all your published apps (original and customized versions),
|
Quick introduction to contexts
A web app can have multiple views or modes for different purposes. In Koji, these views or modes are called contexts.
This tutorial uses the two most commonly used contexts:
-
Default – The default experience for a Koji app. Each app always has a default context.
-
Remix – The mode in which a creator can customize an existing app.
Depending on actions taken by the user, the context changes. Your app can determine the current context and then display the view for that context.
Learn more: contexts.html
Implementing the Remix context
For efficiency, most web applications, such as Facebook, Gmail, and Reddit, load the same basic JavaScript code and run it in a browser. They rely on user-specific data to deliver a slightly different experience to each user. The user-specific data is typically stored in a database, which is separate from the code.
Similarly, every customized version of a Koji app loads and runs the same code that the original developer wrote. What differentiates a customized version from the original and from each other is the set of customization settings. Customization settings are stored in a Koji database, separate from the code.
To create a customizable Koji app, you must:
-
Decide which components would be customizable.
-
Implement the Remix context, where you can collect the custom values from the user.
-
Store the custom values in Koji’s database.
When published, the app with customized settings becomes a new customized version with its own production URL, which is different from the parent app’s URL.
Exercise 3.2: Display the capture button in the Remix context
In a previous exercise, you added a Capture Image button that replaces the rotating image. However, the value is not saved after the app stops running.
To make the rotating image a customizable component, its value must be updated in the Remix context and saved in the customization data.
In this exercise, you will move the Capture Image button from the Default context to the Remix context.
-
Open your project in the code editor.
-
Go to your Developer Portal page and click your project.
-
In the Project Details page, click Open in Code Editor.
-
-
From the navigation pane, open the file /frontend/src/App.js.
-
Modify the file to look as follows:
import Koji from '@withkoji/core'; import { useState } from 'react'; import './App.css'; function App() { const [logoSrc, setLogoSrc] = useState('https://upload.wikimedia.org/wikipedia/commons/a/a7/React-icon.svg'); const captureImage = async () => { const src = await Koji.ui.capture.image(); if (src) { setLogoSrc(() => src); } }; Koji.ready(); if (Koji.playerState.context === 'remix') { // (1) return ( <div className="App"> <header className="App-header"> <img src={logoSrc} className="App-logo" alt="logo" /> // (4) <button onClick={captureImage}>Capture Image</button> // (3) </header> </div> ); } return ( // (2) <div className="App"> <header className="App-header"> <img src={logoSrc} className="App-logo" alt="logo" /> // (4) <p>Having Fun with Koji</p> // (3) </header> </div> ); } export default App;-
Defines what is displayed in the Remix context.
-
Defines what is displayed in the Default context.
-
Moved the Capture Image button from the Default context to the Remix context.
-
Displays the image in both Default and Remix contexts. By displaying the image in the Remix context, the user gets a visual confirmation of the image they selected.
-
-
Click Save or press Ctrl+S or Cmd+S.
-
In the preview pane, click the refresh icon (
 ).
). -
Test the contexts by clicking the similarly named tabs at the top of the preview pane.
The Capture Image button appears in the Remix tab but not in the Default tab.
-
(Optional) Test the Capture Image button.
You will add code in a later exercise to save the URL of the new image.
Default values for customizable components
The original version of any app includes default values for all customizable components. This ensures that the app performs as intended even before it is customized. You can specify these default values in the koji.json file of your project.
In the customized version of the app, the parent version’s values are overridden by the new customized values. If a component is not customized, its value is copied from the parent version.
Settings for the customized version of the app are stored in and loaded from the Koji database.
Exercise 3.3: Specify default values for customizable components
To specify the default values for your app’s customizable components, add a remixData key to the koji.json file.
-
From the navigation pane, open the file koji.json.
-
Modify the file to look as follows:
{
  "deploy": {
    "frontend": {
      "output": "frontend/build",
      "type": "static",
      "commands": [
        "cd frontend",
        "npm install",
        "export NODE_ENV=production && npm run build"
      ]
    }
  },
  "develop": {
    "frontend": {
      "path": "frontend",
      "port": 8080,
      "startCommand": "npm start"
    }
  },
  "entitlements": {
    "InstantRemixing": true,
    "InstantRemixingNativeNavigation": true,
    "FeedEvents": true
  },
  "remixData": {
    "spinningImageSrc": "https://upload.wikimedia.org/wikipedia/commons/a/a7/React-icon.svg"
  }
}
The
remixDataobject in this example contains only one key-value pair which will be used as the initial value forlogoSrc:"spinningImageSrc": “https://upload.wikimedia.org/wikipedia/commons/a/a7/React-icon.svg" -
Click Save or press Ctrl+S or Cmd+S.
You already added a line in index.js to import koji.json to retrieve other settings.
That import will also make the remixData values available to your app.
Retrieving customization data
Currently, in App.js, logoSrc is directly assigned a literal URL as its initial value.
Therefore, the image reverts to the same initial image when the app refreshes or displays a new page.
Now that the customization data is set up in koji.json, your app can retrieve the value of spinningImageSrc using Koji.remix.get.
Then you can set logoSrc to that value instead of the literal URL.
|
Note
|
If the running app is the original version, the customization data contains the original values that you specified in koji.json. If the running app is a customized version, the customization data contains the values that were selected during customization. |
Exercise 3.4: Retrieve from remixData.spinningImageSrc
-
Click the App.js tab.
-
Replace the
logoSrcassigment to use the value ofremixData.spinningImageSrc.-
Search for the following line:
const [logoSrc, setLogoSrc] = useState('https://upload.wikimedia.org/wikipedia/commons/a/a7/React-icon.svg'); -
Replace it with:
const [logoSrc, setLogoSrc] = useState(Koji.remix.get().spinningImageSrc);
-
-
Click Save or press Ctrl+S or Cmd+S.
-
In the preview pane, click the refresh icon (
).
The same spinning image is displayed.
However, instead of hard-coding the default value, you’re using Koji.remix.get() to retrieve the value from the koji.json file.
Saving customization data
Previously, you added a user-input control to allow the user to upload or select an image. However, the image URL returned by that control is not saved permanently.
To save changes to the customization data, use Koji.remix.set.
Exercise 3.5: Save to remixData.spinningImageSrc
-
In App.js, replace the
captureImagefunction to look as follows:const captureImage = async () => { const src = await Koji.ui.capture.image(); if (src) { setLogoSrc(() => src); // (1) await Koji.remix.set({ spinningImageSrc: src }); // (2) } };-
logoSrcis still updated to give the user a visual confirmation of the image they selected. -
Saves the Koji URL of the selected image as the value for the key
spinningImageSrcin the customization data.
-
-
Click Save or press Ctrl+S or Cmd+S.
Because you saved the new URL to the customization data as soon as the image was selected, the change is effective in your entire app immediately. The user remains in the Remix context.
Returning to the Default context
To give the user a way to return to the Default context, you can create a Done button that calls a function with Koji.remix.finish.
Exercise 3.6: Returning to the Default context
-
Modify App.js to look as follows:
import Koji from '@withkoji/core'; import { useState } from 'react'; import './App.css'; function App() { const [logoSrc, setLogoSrc] = useState(Koji.remix.get().spinningImageSrc); const captureImage = async () => { const src = await Koji.ui.capture.image(); if (src) { setLogoSrc(() => src); await Koji.remix.set({ spinningImageSrc: src }); } }; const finish = () => { // (1) Koji.remix.finish(); }; Koji.ready(); if (Koji.playerState.context === 'remix') { return ( <div className="App"> <header className="App-header"> <img src={logoSrc} className="App-logo" alt="logo" /> <button onClick={captureImage}>Capture Image</button> <button onClick={finish}>Done</button> // (2) </header> </div> ); } return ( <div className="App"> <header className="App-header"> <img src={logoSrc} className="App-logo" alt="logo" /> <p>Having Fun with Koji</p> </header> </div> ); } export default App;-
Handles clicks to the Done button.
-
Done button that the user clicks to return to the Default context.
-
-
Click Save or press Ctrl+S or Cmd+S.
Testing the customization
Exercise 3.7: Test the customization
-
In the preview pane, click the refresh icon (
). -
Click the Remix tab.
This action mimics the user clicking Use from the Koji App Store listing.
-
Click Capture Image and select any image.
-
Click Done.
The view switches to the Default context which shows the new image.
-
Republish your project.
For a refresher on how to republish, go back to Exercise 2.6.
Delaying the save
You can delay saving the new selection in the customization settings until after the user clicks the Done button.
Exercise 3.8: (Optional) Challenge
Update the code to do the following:
-
Call
Koji.remix.setinfinishinstead ofcaptureImageto delay saving the new selection until the user clicks Done. -
Create a Cancel button and its matching function to allow the user to return to the Default context without saving the new image.
Remember to test your changes. Then republish your project.
What’s next
Well done, Koji Developer! You now have the basic tools and knowledge to start building your own apps.
To learn more, explore the reference docs for the @withkoji@core package for more functionality that you can add to your app.
When you’re ready to release your awesome app to the world, create a listing to share it in the Koji App Store.